How to Install LED Downlight with Plug in Australia?
LED downlights have become increasingly popular in Australian homes due to their energy efficiency and sleek design. Installing these lights can be a straightforward process, but it requires careful planning and attention to detail. Here's a comprehensive guide to help you install LED downlights with a plug in Australia.
Understanding the Basics
Before you begin, it's important to understand the basics of LED downlights. These lights are known for their long lifespan and energy efficiency. They produce less heat compared to traditional bulbs, making them safer and more cost-effective in the long run.Step 1: Planning Your Layout
The first step in installing LED downlights is to plan your layout. Consider the size of the room and the amount of light needed. A common approach is to evenly space the downlights across the ceiling to ensure uniform light distribution. It's also important to consider the placement of furniture and work areas to avoid shadows.Step 2: Choosing the Right Downlights
When selecting downlights, consider the beam angle, color temperature, and lumens. A wider beam angle is suitable for general lighting, while a narrower beam is ideal for accent lighting. The color temperature can affect the mood of the room – warm white is cozy and inviting, while cool white is crisp and energizing.Step 3: Preparing for Installation
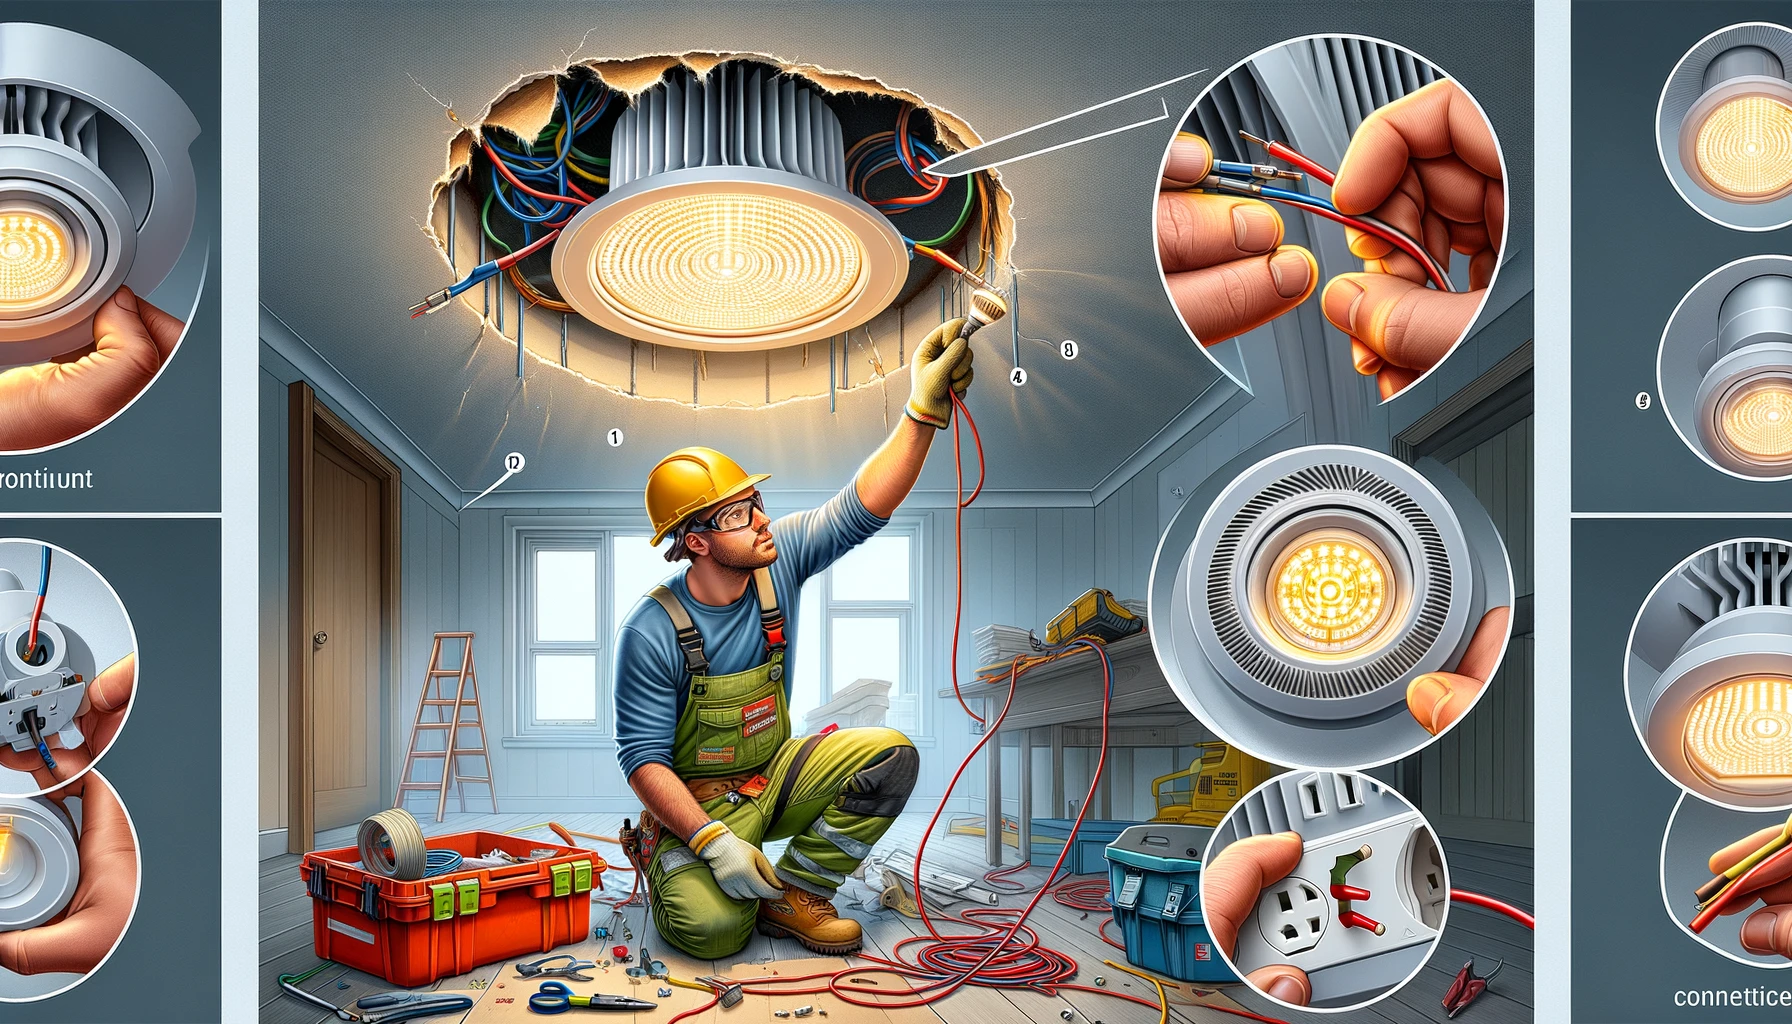
Before installation, ensure that your ceiling can support the weight of the downlights. If you're replacing old halogen lights, check for existing sockets in the ceiling. Turn off the power at the main switchboard to ensure safety.Step 4: Installing the Power Plug
Each downlight should have its own power plug. This is crucial for safety and compliance with Australian electrical standards. If you're not comfortable with electrical work, it's advisable to hire a licensed electrician.Step 5: Cutting Holes in the Ceiling
Use a hole saw to cut holes in the ceiling for each downlight. The size of the hole should match the specifications of the downlights. Be careful to avoid cutting through any wiring or pipes.Step 6: Connecting the Downlights
Connect the downlights to the power plugs. Most modern LED downlights come with simple plug-and-play connectors, making this process straightforward. Ensure all connections are secure and comply with electrical standards.Step 7: Fitting the Downlights
Once connected, fit the downlights into the holes you've cut in the ceiling. They should fit snugly and be flush with the ceiling surface. Test each light to ensure it's working correctly.Step 8: Finishing Touches
After installation, clean up any debris and dust. Adjust the direction of the downlights if they have a tilting feature to achieve the desired lighting effect.Safety and Compliance
Always prioritize safety when installing electrical fixtures. If you're unsure about any part of the process, consult a professional. In Australia, certain electrical work may need to be carried out or inspected by a licensed electrician.Conclusion
Installing LED downlights with a plug in Australia can enhance the ambiance of your home while being energy efficient. With the right tools and careful planning, you can achieve a professional-looking installation.If you're looking for high-quality LED downlights, Lighting Matrix Co., Ltd is your go-to manufacturer. We specialize in manufacturing and supplying top-notch LED downlights for Australia, New Zealand, and other Pacific countries. Our products are designed to meet the highest standards of quality and efficiency. If you need reliable LED downlights in China, don't hesitate to contact us at sales@lightingmatrix.com. Our team is dedicated to providing you with the best lighting solutions to meet your needs. Whether you're renovating your home or working on a new project, we have the expertise and products to help you achieve the perfect lighting. Reach out to us today and let us illuminate your space with excellence!


